
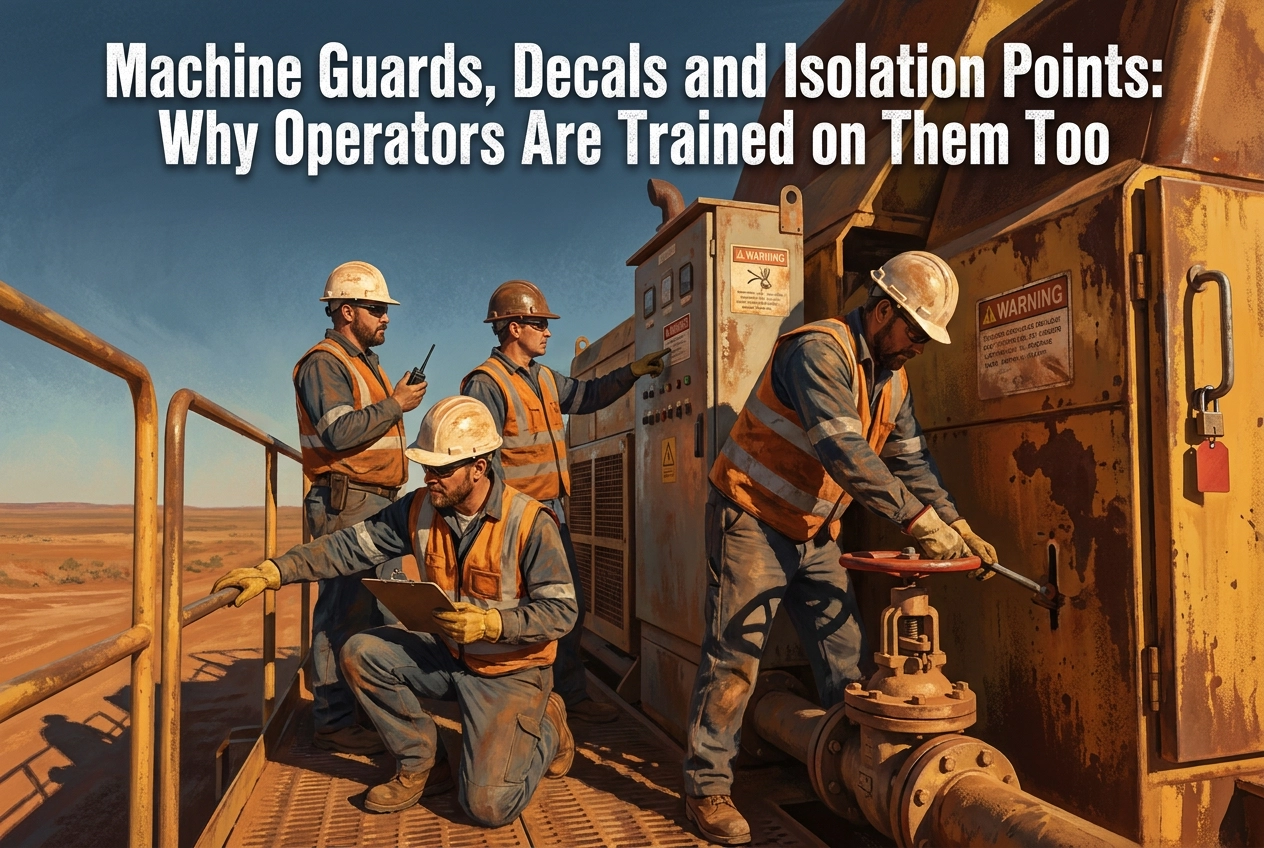
Ever walked past a machine and thought, “that guard looks a bit off” or “I’m sure there used to be a sticker there”? You’re not alone, and that instinct is worth more than most people realise. Operators are the first line of defence when it comes to machinery safety guards and the hardware that keeps everything in check. Not maintenance, not management, you.
The thing is, operator competency isn’t just about running the machine. It’s about knowing the safety gear inside out, spotting a defeated guard, a missing decal, or an isolation point that just won’t engage. And that’s exactly what the machinery safety standards expect.
In this post, we’ll walk through why this hardware is your business, what the standards actually say, what to look for before start-up, and why this belongs in training rather than a maintenance handover. We’ll also touch on who enforces what and how it all fits into your pre-start routine.
If you’re keen to build that know-how, a2btraining is a long-established RTO offering hands-on practical training at a convenient location six days a week, with combo deals and genuine value for money.
Why Machine Safety Hardware Is Operator Business
Ever jumped into a machine and noticed the guard was zip-tied back? Or a decal pressure-washed into a grey smudge? Or an isolation lever that just won’t lock out? More often than not, it’s the operator who spots it first, because they’re there every shift.
That’s the whole argument in one line: guard, decal and isolation awareness is operator competency, not a maintenance handover item. The person who starts the machine each shift is the first line of defence, not the last.
Tell operators safety hardware is “the fitters’ problem” and defeated guards stay defeated for a whole service interval. Nobody climbing into the cab felt it was their job to flag it, and that is a risk logic problem, not just a culture one.
The rest of this piece backs that position with the current Code of Practice and the AS/NZS 4024 safeguarding series. It’s the same principle behind hazard identification on civil construction sites: spotting a problem is a trained skill.
What the Machinery Safety Standards Actually Say About Training
That’s the practical argument. The paperwork backs it. Section 1.4 of the 2023 Code of Practice: Managing the risks of plant in the workplace covers information, training, instruction and supervision. The earlier model code carried the same duty at 3.3, so the requirement hasn’t moved, only the numbering. The Code’s own guarding and warning device sections set the requirements; separate standards may also apply depending on the machine type and jurisdiction.
The 2023 Code also goes further than earlier versions, with dedicated sections on guarding (4.1), emergency stops (4.3), warning devices (4.4), isolating energy sources (4.5) and roll-aways (4.6). Training on safety hardware is now bolted to the hardware controls themselves.
In plain words: guards fitted and not bypassed, warnings legible, isolators engage. On a Tuesday pre-start, that’s a walk-around look before the key turns, the same routine covered in heavy equipment pre-start checks.
Machinery Safety Guards: What Operators Should Spot Before Start-Up
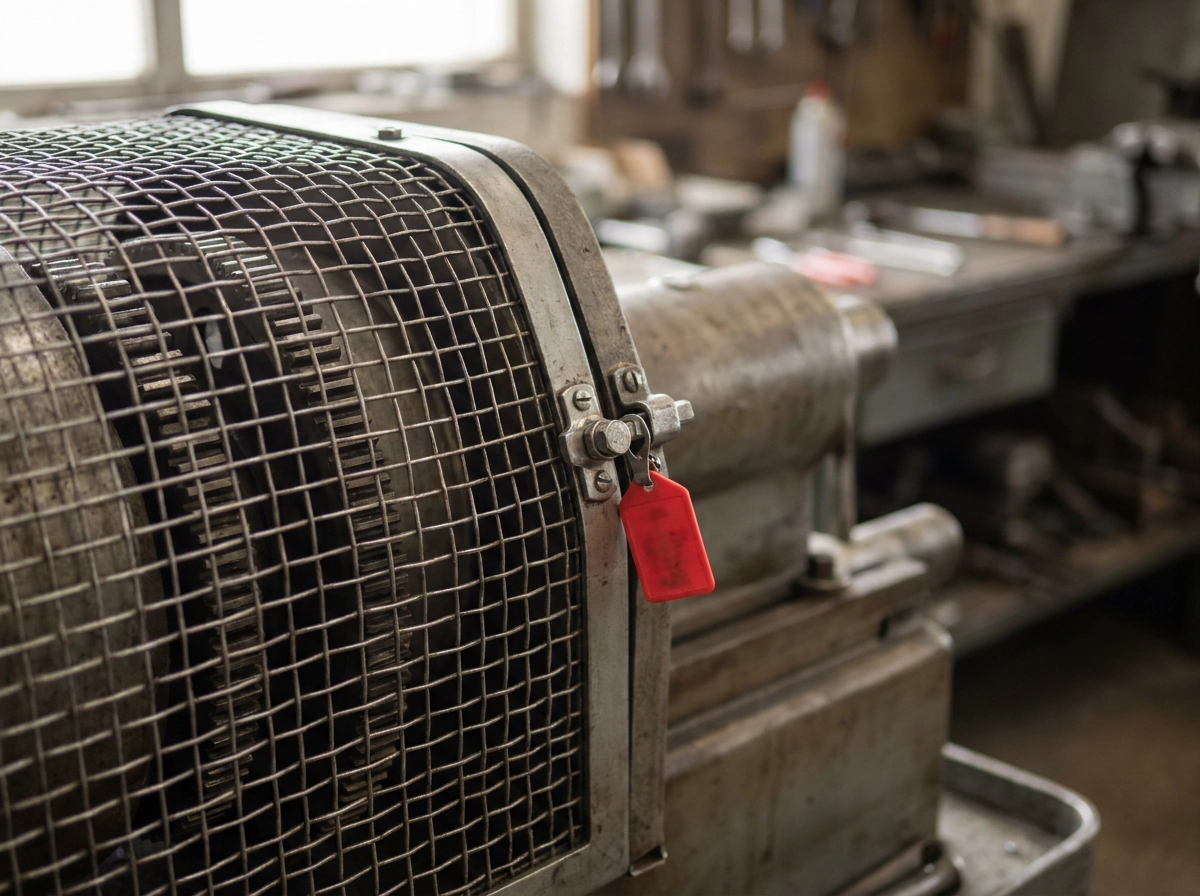
Guards stop people reaching into moving parts. Simple as that. And they only work if they’re actually in place and actually attached. Section 4.1 of the Code of Practice on managing plant risks makes the duty to guard clear, but here’s the honest bit: the Code doesn’t spell out an operator checklist. The check below flows from combining that guarding duty with the training duty covered earlier. It’s practical derivation, not a quote.
The one-minute guard check
Before you climb in, walk the machine and look for:
- Guard physically present, not sitting on the ground beside it
- Fasteners intact, no missing bolts
- No zip ties, wire, tape or cable ties holding a guard open
- No panel deformed or rubbing against moving parts
The defeated guard trap
This is the most common failure on civil plant. Someone pulls a guard for a quick greasing job and never refits it. The next operator inherits the hazard without knowing the guard was ever there.
What to check on your machine
Belly and engine bay guards on excavators. Articulation guards on wheel loaders. Boom and hose guards on telehandlers. Drum and drive guards on rollers. Same logic applies across the fleet, including if you’re learning how to operate a loader safely.
One quick lap catches most of it. Next, let’s look at decals and warning devices.
Decals and Warning Devices: The Labels Nobody Reads Until It Matters
Guards are only part of the safety hardware story. Every machine is also plastered in decals, and section 4.4 of the Code of Practice on warning devices gives them real weight. Think load charts, crush and pinch point warnings, hot surface markings, isolation diagrams, tie-down points, E-stop locations and refuelling warnings.
Here’s the thing: decals fade, peel, get painted over, get caked in mud or grease, or disappear after a panel repair. Operators are the only people with eyes on them every shift, which is exactly why legibility belongs in the pre-start, not the next service.
A practical check looks like this:
- Read the load chart before lifting
- Confirm the isolation diagram matches the actual hardware
- Check E-stop markers are visible
- Flag anything obscured by aftermarket toolboxes, lights or signage bolted on later
A missing load chart or an obscured isolation diagram turns a controlled task into guesswork, and on mobile plant that guesswork raises the risk of tip-overs and crush injuries.
On Australian civil sites, the decal set feeds directly into how a machine is assessed against machinery safety standards. Guides like the SafeWork NSW machine safety guide treat that hardware as part of the control. Treating decals as cosmetic is a compliance risk, not just a safety one.
Next, the isolation points and E-stops where the “won’t engage” problem bites hardest.
Isolation Points and Emergency Stops: When the Hardware Won’t Engage
Decals point you to the isolation point. Whether it actually works is another question.
Sections 4.3, 4.5 and 4.6 group the controls that matter most once something has already gone wrong: emergency stops, energy isolation and roll-away protection. Worst time to discover they don’t work.
In operator terms, it’s the isolation lever that won’t seat, the lockout hasp too big for the hole, the E-stop that clicks but doesn’t stop the function, the park brake that holds on flat ground but not on a batter. Treat those as hypothetical examples, but they’re the failures crews actually talk about.
The split matters. You confirm the isolation engages and the machine is genuinely de-energised before reaching in. Repairing a faulty isolator is a fitter’s job. Confusing the two is how hands get caught.
And be honest about the reporting gap: no source in this piece describes a formal process for reporting a defeated guard or seized isolator. The duty is to notice, stop work and escalate through your site’s own system. Not invent a procedure. If you’re unsure what to verify before mobilising, the guide on Site Compliance for Heavy Equipment Operators: What to Verify Before Mobilisation is worth a read.
Where This Fits in the Pre-Start Routine
The Code’s inspecting plant provision is the anchor here. It appears as section 3.5 in the current 2023 Code (it was 3.6 in the 2012 edition) and carries through the current code structure, setting the expectation to check plant before use and at intervals. Guard, decal and isolation checks sit inside that duty, not beside it.
In practice it’s three extra looks folded into the pre-start you’re already doing: guard present and secured, decals legible and matching the machine, isolation point engages and the E-stop is verified.
The sequence that works is by walking position, not by category: walk-around first, then cab, then controls and isolations, then start. Group the checks where your feet and eyes already are, and they actually happen.
Documentation is where it holds or falls apart. If the form records a defeated guard as a tick and flick, the check is theatre. Record the defect with a photo and a description, and follow your site’s escalation process. That turns a look into a control.
It also ties into the site compliance checklist for ticket currency, and it’s why A2B Training, a long-established RTO, builds hardware awareness into hands-on practical tickets six days a week.
Machine Safety Australia: Who Actually Enforces What
So the pre-start checks are only worth something if you know who’s actually judging them. That’s where a bit of machine safety Australia confusion creeps in.
Safe Work Australia isn’t the mob that turns up on site. It’s a national policy body. It develops model WHS laws and codes of practice, but it doesn’t inspect your site or issue notices.
Enforcement sits with state and territory regulators. In Perth and across WA, that’s WorkSafe WA. Train in WA and WorkSafe WA’s expectations are the ones you’re actually working to.
Model codes only take effect when adopted under state or territory WHS law. Quote a code without checking local adoption and you’ve got half the picture. The safety hardware duties are the benchmark used to judge site conduct after an incident.
Worth confirming the current WA WHS Act and regulations that apply to your site before relying on this. If you’re stacking tickets as well, what civil construction qualifications can you stack with your RII tickets in Australia? is worth a read.
Why This Belongs in Operator Training, Not Maintenance Handover
The law and regulators agree safety hardware matters. The remaining question is who is qualified to notice when it fails, and that is precisely the training-versus-handover argument.
Leaving hardware awareness to the maintenance handover assumes the fitter is the first to notice a problem. They’re not, the operator is, because they’re the one running the machine every shift. The skill of recognising a defeated guard, a missing decal or a seized isolator needs to be built before someone climbs into the cab, not explained after something goes wrong.
The RII units that underpin civil and heavy equipment tickets cover safety, pre-operational checks and hazard identification. If you’re newer to this, the rundown on what an RII ticket actually is covers the basics.
Hardware awareness is caught, not taught from a slide deck. Walking up to a real excavator, loader, roller or telehandler and finding the guard fasteners and isolation point builds the habit. That is how A2B Training runs it: a long-established RTO in Maddington, WA, with hands-on practical training six days a week, combo deals across machine tickets and a value-for-money approach operators paying their own way appreciate.
The fitter owns the repair. The operator owns the noticing, and noticing is a trainable, assessable skill.
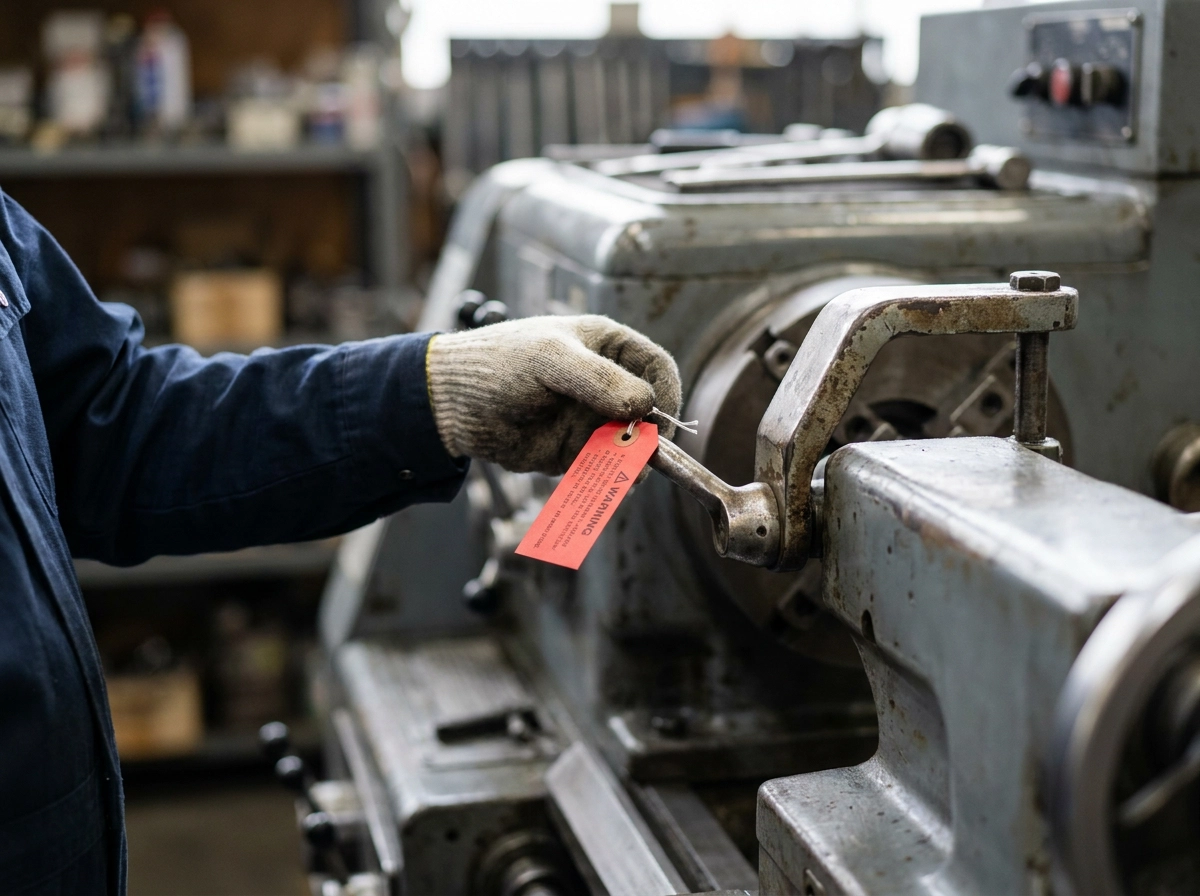
Notice It, Flag It, Don’t Run It
The pre-start routine covered earlier is where all three checks land in practice, here’s what each one looks like in action.
- Check guard fasteners and confirm no guard is defeated (no zip ties, no missing panels).
- Confirm decals are legible and the isolation diagram actually matches the hardware on the machine.
- Test the isolation point and emergency stop before you rely on either.
If something is wrong, stop the machine and flag it through your site’s own reporting system. Do not run it assuming the fitter will catch it at the next service.
Going forward, fold those three checks into the pre-start you already do. If you are still building your ticket, look for training that puts you in front of real machinery rather than a classroom. A2B Training is a long-established RTO running hands-on practical courses at Maddington, check what a course day actually looks like before you book.
One honest caveat: verify current code editions, regulator guidance and any statistics against the source material before you rely on them for a site decision.
Conclusion
The pre-start you already do is the right place for these three checks: guard fasteners, legible decals, working isolation. A2B Training is a long-established RTO at Maddington, running hands-on practical RII ticket courses six days a week with combo deals and genuine value for money, the practical way to make those checks second nature.
You already do the pre-start walk. Now make it count.