
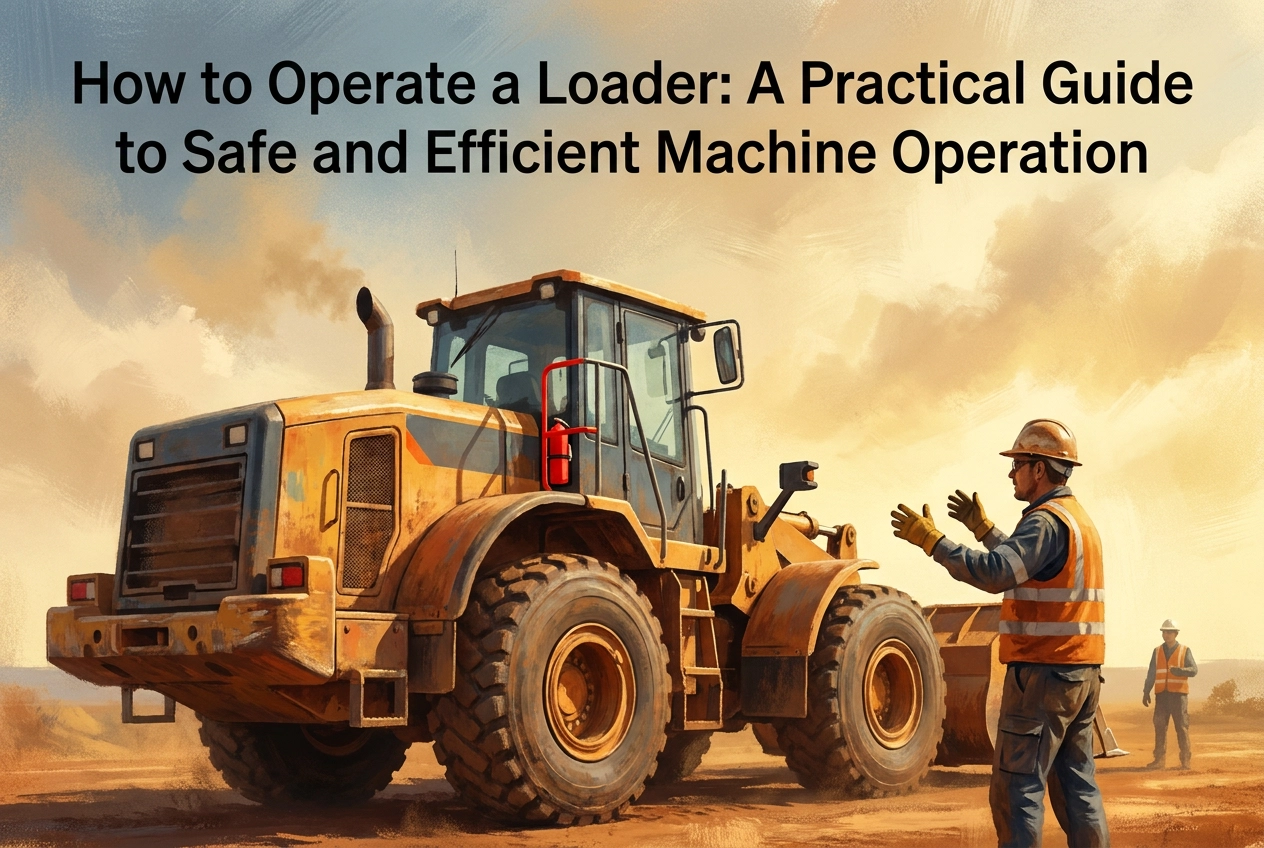
Knowing how to operate a loader safely and efficiently is one of the most valuable skills you can develop in civil construction, mining, or earthmoving work. Whether you are brand new to heavy equipment or preparing to get your formal qualification, understanding the correct procedures from the ground up will set you apart as a competent and confident operator.
This guide walks you through everything you need to know before you climb into the cab. You will learn what a wheel loader is and where it is used, what qualifications and PPE are required, how to conduct pre-start checks, and how to safely start, operate, and shut down the machine. We also cover practical techniques for truck loading and stockpile management, common mistakes to avoid, and what to do in an emergency.
By the end of this post, you will have a clear, practical understanding of loader operation that aligns with the nationally recognised Australian standard, RIIMPO321F. This is your starting point for operating with confidence, meeting site requirements, and building a career in heavy equipment operation.
What Is a Wheel Loader and Where Is It Used
A wheel loader is a self-propelled, wheeled machine fitted with an integral front-mounted boom and bucket assembly. Unlike a skid steer (which steers by varying wheel speed), a backhoe loader (which has a rear digging arm), or an integrated tool carrier (designed for frequent attachment changes), the wheel loader is purpose-built for high-volume material handling using articulated centre-pivot steering.
Where wheel loaders operate in Australia
Wheel loaders are workhorses across several industries:
- Civil construction: road base preparation, earthworks, and aggregate handling
- Coal and metalliferous mining: bulk overburden and ore movement at surface operations
- Extractive industries: quarry face loading and crusher feed
- Bulk materials handling: ports, stockyards, and transfer facilities managing high-tonnage throughput
Common tasks
On a typical Australian worksite, a wheel loader performs bulk material loading from a face or stockpile, loads haul trucks, builds and manages stockpiles, clears spoil and debris during site cleanup, and transports materials over short distances, generally under 500 metres, where a haul truck would be inefficient.
Machine sizing and bucket capacity
Bucket capacities range from under one cubic metre on compact loaders used for confined civil sites to over ten cubic metres on large mining units. Machine size is matched to task: a 3 to 5 cubic metre loader suits typical civil construction truck-loading cycles, while larger machines feed primary crushers in quarry and mining applications.
Regulatory framework
Loader operation in Australia is formally governed by RIIMPO321F Conduct Civil Construction Wheeled Front End Loader Operations, the current nationally recognised competency standard that replaced the superseded RIIMPO304B unit.
What You Need Before You Operate a Loader
Before you touch the controls, two non-negotiable requirements must be satisfied: you must hold a current nationally recognised competency ticket (RIIMPO321F) or be under direct supervision as part of formal, structured training. Operating a loader without verified competency is a breach of both site safety standards and WHS obligations. If you are working toward your ticket, Front End Loader Training must be completed through a registered RTO before unsupervised operation is permitted.
PPE requirements for loader operation in Australian civil construction and mining environments include:
- Hard hat
- High-visibility vest
- Steel-capped boots
- Safety glasses
- Hearing protection and dust masks where conditions require
All PPE must be worn before entering the work zone, not just inside the cab.
Documentation to review before starting work:
- Site induction records confirming you have been inducted to that specific site
- Safe Work Method Statement (SWMS) for the loader task being performed
- Site traffic management plan outlining haul routes, speed limits, and right-of-way rules
- Any relevant environmental compliance documents covering dust, noise, or spill controls
Do not assume yesterday’s conditions apply today. Review current documents at the start of every shift.
Hazard identification must occur before you approach the machine. Scan for overhead powerlines, underground service markers, established exclusion zones, areas of soft or unstable ground, and the positions of other personnel and mobile plant. If a hazard cannot be controlled, stop and report it.
Fitness for duty is a legal requirement. Fatigue, prescription medication that impairs judgement, and any substance use are grounds for standing down. Most sites operate drug and alcohol policies with pre-start or random testing. Presenting unfit for duty exposes you and your colleagues to serious risk.
Understanding Loader Controls and Instrument Panels
Once you are cleared to approach the machine, your next task is to understand what you are sitting in before you touch a single control.
Primary driving controls in a typical wheel loader cabin include the steering wheel (which operates through an articulated centre joint rather than steering the wheels directly), a forward/reverse transmission lever, a throttle pedal, service brake pedal, and a parking brake. Selecting the correct gear range and confirming neutral before moving are covered in the start-up procedure; for now, focus on locating each control and understanding its function.
Hydraulic controls are typically two levers: one raises and lowers the boom, the other tilts (curls or dumps) the bucket. Used together, they create two critical positions. The loading position has the bucket flat and low to the ground to engage material. The carry position has the bucket curled back and the boom raised just enough for ground clearance, typically 300 to 450mm, to stabilise the load during travel.
Dashboard instruments to monitor continuously include the engine temperature gauge, hydraulic oil temperature, transmission oil pressure, and fuel level. Warning lights and audible alarms signal faults that require immediate response; never ignore an active warning light.
Cab safety structures include the ROPS (Roll Over Protective Structure) and FOPS (Falling Object Protective Structure), which are engineered into the cab frame. Your seatbelt must be fastened before any movement. Modern machines also feature mirrors and reversing cameras to address the blind spots inherent to these large machines.
Controls vary significantly between manufacturers and models. A loader differs substantially from Skid Steer Loader Training equipment in layout and response. Wheel loader training under RIIMPO304E ensures you develop control familiarity on the actual machine, not a generic approximation.
How to Conduct a Loader Pre-Start Check

Before the engine starts, the pre-start check is your first and most important safety task. Under WHS legislation and RIIMPO321F competency standards, completing this inspection before every shift is a legal obligation, not a suggestion. Its purpose is straightforward: identify faults, fluid leaks, or damage before they cause equipment failure or injury on site.
External Walkaround
Work around the machine methodically, checking the same items in the same order each time.
- Tyres: Look for cuts, embedded objects, uneven wear, and visually low pressure
- Bucket and cutting edge: Check for cracks, excessive wear, or missing teeth and edge sections
- Under the machine: Scan the ground for fresh fluid pooling indicating oil, coolant, or hydraulic leaks
- Hydraulic hoses and cylinders: Inspect for abrasion, cracking, or weeping fluid at fittings
- Guards and panels: Confirm all engine bay covers and access panels are secured
Fluid Level Checks
With the machine on level ground and the engine cold, check each of the following against the acceptable ranges in the machine’s service manual:
- Engine oil
- Coolant
- Hydraulic oil
- Transmission oil
- Brake fluid
- Diesel fuel
Never estimate levels from memory. The service manual specifies the correct dipstick markings and sight glass ranges for that machine.
Cab Interior Checks
Enter using three-point contact, then verify:
- Horn, work lights, and reversing alarm all function correctly
- Seatbelt webbing is undamaged and the buckle latches securely
- Fire extinguisher is present, mounted correctly, and within its service date
- Machine logbook has been reviewed for any outstanding faults from the previous operator
Fault Reporting
Any defect identified during pre-start must be reported to your supervisor before you touch the ignition. Never operate a machine with a known fault unless a formal risk assessment has been completed and your supervisor has explicitly authorised it.
Step-by-Step Loader Start-Up Procedure
With a clean pre-start check completed, you’re ready to bring the machine to life. Follow this sequence every time, without shortcuts.
1. Mount and secure yourself
Use the three-point contact method to climb into the cab: maintain three points of contact with the steps and handholds at all times. Never grip the steering wheel or joystick to pull yourself up. Once seated, fasten your seatbelt before touching any control. Then adjust the seat and armrests for comfort, and position mirrors for maximum rear visibility.
2. Pre-ignition checks
Before turning the key, confirm:
- Transmission is in neutral
- Parking brake is applied
- All hydraulic and operational controls are in their neutral or rest positions
Starting with controls engaged risks immediate, uncontrolled machine movement.
3. Engine warm-up
Start the engine and allow it to idle for the manufacturer-recommended period, typically 3 to 5 minutes under normal conditions and longer in cold weather. Do not apply load to the hydraulics or drivetrain during this time. Warm-up allows engine oil, hydraulic fluid, and transmission fluid to reach safe operating temperatures.
4. Post-start instrument check
Once running, scan all gauges: engine temperature, hydraulic oil temperature, fuel level, and transmission oil pressure must all read within normal ranges. Warning lights should extinguish within seconds of start-up. Any light that stays on, or any abnormal engine or hydraulic noise, must be investigated before you move.
5. Pre-movement check
Sound the horn to alert nearby personnel. Visually confirm the immediate work area is clear of people and obstacles. Select the correct gear range for your first task, then release the parking brake.
How to Operate a Loader Safely on Site
With the machine running and checks complete, focus shifts to using the loader safely and efficiently on site.
Loading at the Face
Approach the material pile squarely, not at an angle. Lower the bucket flat to the ground before engaging, then drive forward steadily while curling the bucket to collect material. Never overload beyond the machine’s rated bucket capacity; excess weight increases tipping risk, accelerates tyre wear, and strains the drivetrain.
Safe Travelling Position
Always carry the bucket 300 to 450mm off the ground when travelling. This lowers the machine’s centre of gravity, reduces tip-over risk, and keeps your forward sightlines clear. Never travel with a full, raised bucket, particularly on uneven ground or gradients.
Turning and Manoeuvring
Articulated loaders flex at a central pivot point, creating a serious shear hazard. No pedestrian should ever be near the articulation zone when the machine is turning. Before any turn, check surroundings and maintain the exclusion zone. Also account for the rear swing arc, which extends further than most beginners expect.
Haul Roads and Ramps
Descend ramps in low gear. When empty, keep the bucket trailing; when loaded, position it as site procedures direct. Always observe site speed limits, follow the traffic management plan, and give way to larger haul trucks in line with the site’s vehicle hierarchy.
Situational Awareness
Conditions on site change constantly. Monitor ground stability, overhead hazards, approaching personnel, and visibility affected by dust or weather. If anything looks unsafe or unclear, stop the machine, apply the park brake, and reassess before continuing.
Truck Loading and Stockpile Management Techniques
Once you have mastered safe on-site movement, productive truck loading and stockpile work become the core of your daily output.
Loading Patterns
Two patterns dominate Australian worksites. The V-cycle has the loader reverse away from the truck, swing in an arc, then drive forward to tip into the tray, forming a V-shaped path. It is faster and suits most situations where space permits. The drive-around pattern has the loader travel a full circuit around the truck before tipping; it suits tighter sites where reversing room is limited. Choose based on available turning radius and traffic flow around the truck.
Bucket Filling Technique
Target 85 to 95 percent bucket fill on every pass. Crowd the bucket steadily into the pile, then tilt back smoothly before reversing to avoid spillage during travel. When tipping into the truck tray, position each load centrally and alternate placement front to back to distribute weight evenly across the tray.
Stockpile Building
Build stockpiles in horizontal lifts rather than pushing material up in one steep pass. Maintain stable side slopes and avoid undercutting the base, which creates overhanging faces that can collapse unexpectedly. Where the site handles multiple material grades, follow the site’s segregation plan strictly to prevent contamination between stockpiles.
Communication with Truck Drivers
Confirm truck position before every loading cycle using standardised hand signals or radio. Never approach or tip into a truck until the driver has confirmed the vehicle is stationary and correctly positioned. Signal clearly when loading is complete so the driver knows it is safe to pull away.
Efficiency
Keep cycle times consistent, minimise sharp turns that scuff tyres, and avoid raising the bucket higher than necessary during travel between the pile and the truck. Match your loading rate to the truck’s payload capacity so the haul fleet keeps moving without trucks waiting or departing underloaded.
Common Loader Operator Mistakes and How to Avoid Them
Even experienced operators develop bad habits under production pressure. These five mistakes appear repeatedly on Australian worksites and each one carries genuine safety and cost consequences.
Overloading the bucket. Exceeding the machine’s rated payload shifts the centre of gravity forward, increases tip-over risk, and puts excessive strain on the drivetrain, hydraulic system, and tyres. Braking performance also degrades under excess load. Match every bucket fill to the machine’s rated capacity, not to the size of the pile.
Travelling with the bucket raised. A loaded, elevated bucket raises the machine’s centre of gravity significantly. On uneven ground or any incline, this dramatically increases rollover risk. The low carry position, approximately 300 to 450mm off the ground, is not a suggestion; it is standard operating practice on every pass, every time.
Skipping the pre-start check. Time pressure is the most common reason operators rush or omit pre-start inspections. A missed fluid leak, a worn hydraulic hose, or an unacknowledged warning light can escalate from a minor fault into a breakdown or a serious injury before the shift ends. No production target justifies bypassing this step.
Poor awareness of the articulation zone. The pivot point on an articulated loader creates a crushing hazard that new operators consistently underestimate. Before any turn, check surroundings. Pedestrian exclusion zones around the machine are a non-negotiable site rule, not a guideline.
Ignoring ground conditions. Soft, wet, or recently disturbed ground reduces traction, impairs braking, and increases the risk of tyre sinkage and tip-over. Assess the ground surface before each pass and report any deterioration to your supervisor immediately rather than continuing to work through it.
Emergency Response Procedures for Loader Operators
Knowing common mistakes reduces preventable incidents, but some situations escalate beyond operator error. Every loader operator must know exactly what to do when an emergency occurs.
Hydraulic Failure
If hydraulic pressure drops or a hose fails, lower the bucket to the ground immediately using whatever residual pressure remains. Apply the parking brake, shut down the engine, and do not attempt to move or service the machine. Report the fault to your supervisor before anyone approaches the machine. Residual hydraulic pressure in lines can release unexpectedly and cause serious injury.
Tip-Over or Rollover
Keep your seatbelt fastened and grip the steering wheel firmly. Do not attempt to jump clear. The ROPS structure is engineered to create a survival zone around the operator if the machine rolls. Exiting during a rollover places you directly in the path of the machine and significantly increases the risk of fatal injury. Stay inside, stay restrained, and wait until the machine comes to rest.
Fire on the Machine
Shut down the engine immediately. Exit the cab using the three-point contact method. Use the onboard fire extinguisher only if the fire is small and fully contained. If there is any doubt, move well clear of the machine and raise the alarm to site emergency services without delay. Never re-enter to retrieve belongings.
Striking Underground or Overhead Services
Stop the machine immediately. Do not reverse or move in any direction. Raise the alarm, clear all personnel from the surrounding area, and follow the site’s emergency response plan for utility strikes. Movement after striking a service can worsen a gas leak, electrocution risk, or structural collapse.
Before Work Begins
Every one of these procedures must be covered in your site induction. Before commencing any shift, confirm the location of emergency contacts, muster points, and first aid equipment. That knowledge cannot wait until an emergency unfolds.
Loader Park-Up and Shutdown Procedure
Once the shift is complete, shutting down correctly is just as important as any operational step.
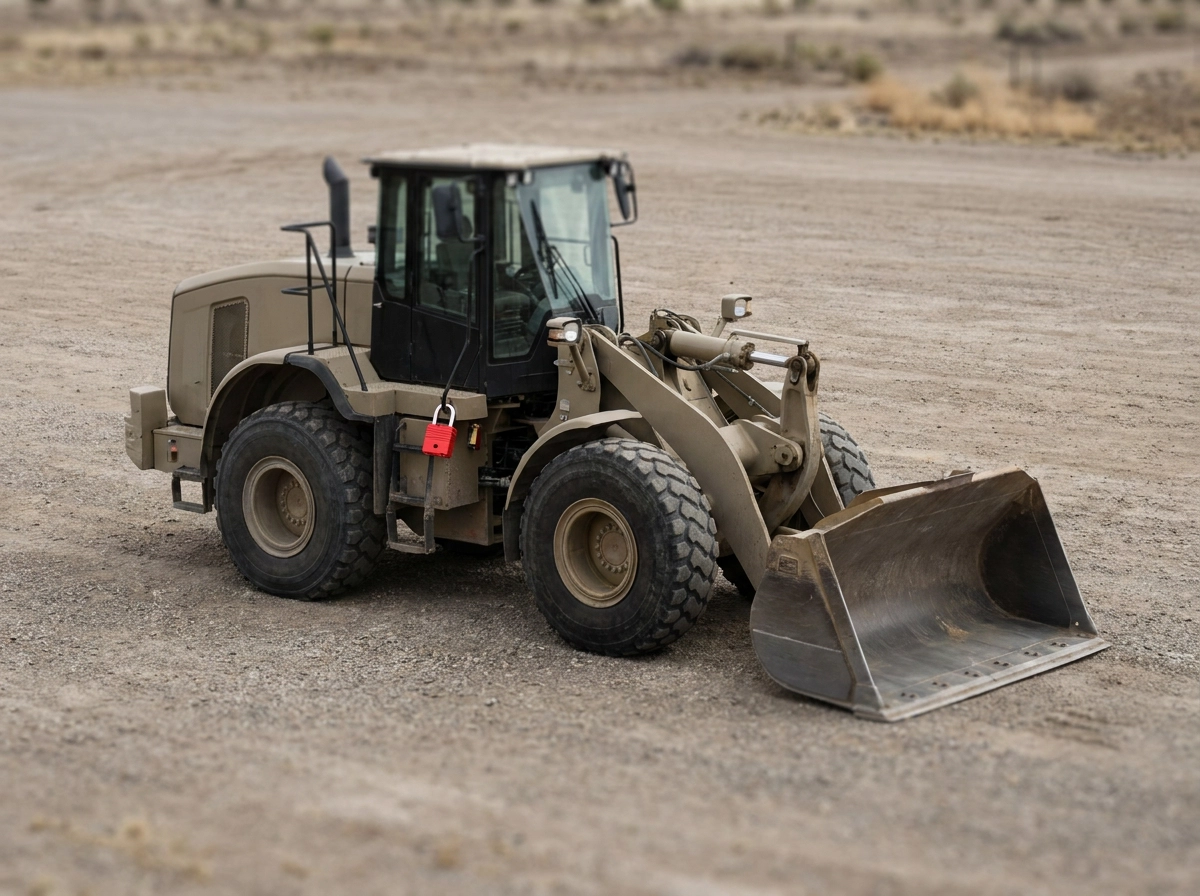
Choose the right parking spot first. Park on firm, level ground, clear of traffic routes, exclusion zones, and overhead hazards such as powerlines or structures. If a level surface is unavailable and slope parking is unavoidable, chock the wheels and angle the bucket down into the ground for added stability.
Follow the hydraulic shutdown sequence. Before switching off, lower the bucket fully to the ground. This relieves residual hydraulic pressure so the machine cannot move unexpectedly if controls are accidentally activated after shutdown. Never park with the bucket raised.
Allow a cool-down idle period. Let the engine idle for 3 to 5 minutes before shutdown. This allows turbochargers and cooling systems to normalise. Shutting down immediately after heavy work traps heat in the turbocharger bearings, cutting oil flow at the point the component needs it most. Consistent hot shutdowns shorten engine life significantly and generate avoidable repair costs.
Complete the final cab checks before leaving.
- Apply the parking brake
- Remove the ignition key
- Close and lock the cab
- Conduct a brief post-operation walkaround, checking for new fluid leaks, visible damage, or component wear that occurred during the shift
Any new issues identified here must be reported before the next operator takes over.
Complete the machine logbook or site maintenance report. Record any faults observed, fluids topped up, and hours of operation for the shift. Accurate logbook entries support scheduled maintenance intervals, help mechanics identify developing faults early, and provide the audit trail required for site compliance. Skipping this step puts the next operator and the machine at risk.
Post-Operational Procedures and Basic Servicing
Beyond park-up and shutdown, operators carry defined servicing responsibilities that keep the machine fit for the next shift.
Operator-level servicing sits below the work of qualified fitters but is no less important. Operators are expected to grease articulation and bucket pins, clean air filters, and confirm fluid levels at the start of each shift. These tasks are not passed upward; they belong to the operator.
Daily greasing is critical. Most wheel loaders carry multiple grease nipples across the articulation joint, boom pins, bucket pins, and steering linkages. Skipping even one session allows metal-to-metal contact to begin. Accelerated wear on these components leads to costly replacement work that regular greasing would have prevented entirely.
Fault reporting must be systematic. Every defect, abnormal noise, or warning light activation should be entered in the machine’s maintenance record with the date, time, and a clear description of the fault. This log gives mechanics a maintenance history to work from, allowing recurring issues to be identified and resolved before they become failures.
Environmental compliance applies after every shift. Operators must contain and report any hydraulic fluid or diesel spills immediately. Machines should not be washed down in locations where runoff can reach stormwater drains or waterways. Used filters and fluids must be disposed of according to site-specific waste management procedures, not left beside the machine or tipped on the ground.
These habits are assessed competencies, not optional extras. Under RIIMPO321F, candidates are formally evaluated on fault-finding, routine servicing, and record-keeping. Operators who treat post-operational procedures as a formality risk failing assessment and, more importantly, contributing to preventable equipment failures on site. For those ready to train to this standard, A2B Training’s wheel loader operations course covers all assessed elements, including practical servicing tasks.
Getting Your Loader Ticket in Australia
Knowing how to operate a loader is one thing; holding the formal credential that proves it is another. In Australia, nationally recognised loader training is delivered by Registered Training Organisations (RTOs) under the unit of competency RIIMPO321F (Conduct Civil Construction Wheeled Front End Loader Operations), which replaced the superseded RIIMPO304B standard.
What a Loader Ticket Course Covers
A typical RIIMPO321F course includes two assessed components:
- Theory assessment: legislation, hazard identification, environmental obligations, and pre-operational procedures
- Practical assessment: hands-on operation of a real machine, covering start-up, loading techniques, travelling, and shutdown
Both components must be completed satisfactorily before a Statement of Attainment is issued.
Who Needs a Loader Ticket
Anyone operating a wheel loader in civil construction, mining, or extractive industries in Australia is expected to hold the relevant competency. Most sites will not permit unsupervised machine operation without evidence of a nationally recognised ticket. Requirements can vary between states and territories, so verify your specific obligations with the relevant state regulator before starting work.
Training at A2B Training
A2B Training is a nationally recognised RTO based in Maddington, WA, offering RIIMPO321F loader training six days a week. Courses are delivered by experienced industry trainers and assessors at their Perth facility, covering every element assessed under the unit.
Choosing the Right RTO
Before enrolling, confirm the RTO is listed on the National Training Register at training.gov.au and that successful completion leads to a Statement of Attainment specifically for RIIMPO321F. Not all short courses deliver nationally recognised outcomes, and an unrecognised certificate will not satisfy site compliance requirements.
Key Takeaways for Safe and Competent Loader Operation
Competent loader operation rests on three pillars defined by RIIMPO321F: planning and preparation, correct machine operation, and thorough post-operational procedures. Miss any one of them and the other two cannot compensate.
Certain safety behaviours are non-negotiable on any Australian worksite:
- Complete the pre-start check before every shift, without exception
- Carry the bucket low (300 to 450mm off the ground) whenever travelling
- Enforce pedestrian exclusion zones, especially around the articulation point
- Never operate a machine with a known defect
These are not best-practice suggestions. They are the baseline standard expected of every ticket-holding operator.
This guide covers the essential knowledge, but reading about loader operation and being competent to perform it are different things. Machine awareness, load judgement, and emergency decision-making develop through repetition on real equipment under qualified supervision. A printed checklist cannot replicate that.
RIIMPO321F is the recognised pathway to confident, compliant, and employable loader operation across civil construction and mining sites in Australia. Holding that nationally recognised Statement of Attainment is what most sites require before granting unsupervised machine access. It is also what demonstrates to employers that your skills have been assessed against a consistent national standard, not self-reported.
If you are ready to move from knowledge to competency, the next step is straightforward. Contact A2B Training to enquire about upcoming wheel loader courses at their Maddington facility in Perth. Courses run six days a week, are delivered by experienced industry assessors, and lead to a nationally recognised RIIMPO321F outcome. Enquire today to confirm availability and take the practical step toward your loader ticket.